
Resealing RV Roof Seams and Edges
October 31, 2025 · By Magnolia RV Park
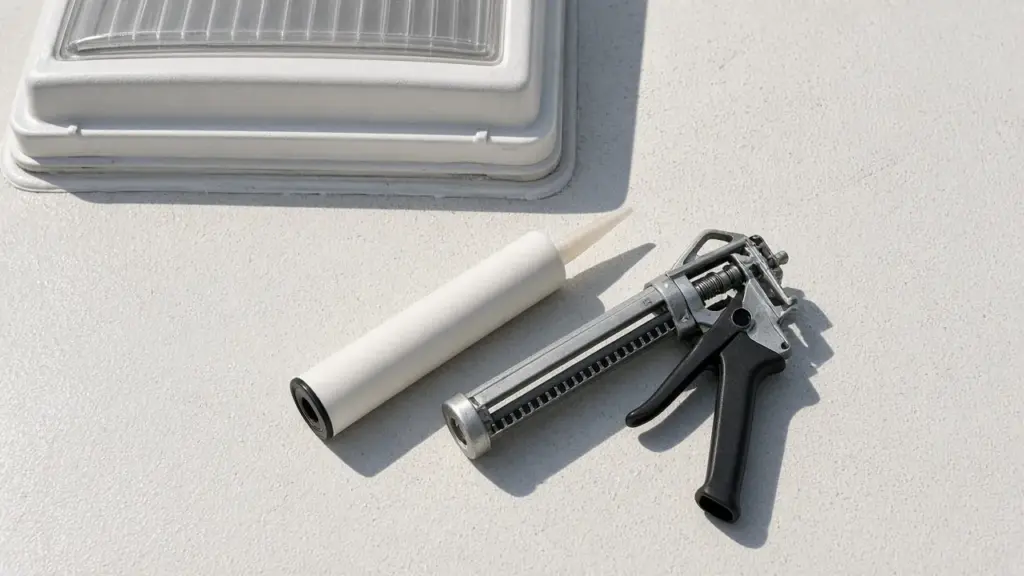
Water is one of the biggest threats to an RV, and the roof is where most leaks start. Seams, edges, vents, skylights, and other roof penetrations are sealed with caulk-like sealants that age, crack, and shrink over time. For full-time residents, especially in the Texas heat and heavy rain, checking and resealing these areas is a regular part of ownership.
This guide explains how to approach resealing RV roof seams and edges safely and effectively. It is meant as general guidance. Always follow your RV manufacturer’s instructions and consult a qualified RV technician when you are unsure. For a complete maintenance calendar, see our pillar on RV maintenance for full-time residents.
Why Roof Sealant Fails
RV roof sealants are exposed to the harshest conditions your rig faces:
- UV exposure. Direct sun breaks down sealants over time.
- Heat cycles. Hot days and cooler nights cause expansion and contraction.
- Rain and humidity. Water finds any gap.
- Movement. Travel and settling flex the roof structure.
- Debris. Leaves and branches can hold moisture against seams.
Once sealant cracks or pulls away, water can seep into the roof structure, walls, and ceiling. Damage often goes unnoticed until it is extensive.
How Often to Inspect
Many RV owners inspect the roof several times a year and after major storms. Our RV roof inspection checklist lays out what to look at on each inspection. Resealing is done as needed when inspection finds problems, not on a fixed schedule.
Covered sites can reduce direct sun and rain on the roof, which may slow wear, but covered RVs still need regular inspection.
Know Your Roof Type
Before buying any sealant, identify your roof material. Common types include:
- EPDM rubber
- TPO
- Fiberglass
- Aluminum
Check your owner’s manual or contact the manufacturer. Using the wrong sealant can damage the roof or fail to bond.
Choosing the Right Sealant
RV roof work typically uses two kinds of sealant:
- Self-leveling sealant. Used on horizontal surfaces such as around vents, antennas, and roof edges. It flows slightly to create a smooth, watertight seal.
- Non-sag sealant. Used on vertical surfaces, such as the front and rear caps or side seams, where self-leveling products would run.
Choose products that are compatible with your roof material and with the existing sealant. Many manufacturers recommend applying new sealant over old sealant of the same type rather than removing it entirely. Avoid general household silicone unless the manufacturer specifically approves it, because many RV sealants do not bond to silicone.
Safety First
Working on an RV roof involves real fall risk. Before climbing up:
- Confirm your roof is rated to be walked on
- Use a sturdy ladder on level ground
- Work with a helper when possible
- Avoid wet roofs and windy days
- Work in the cooler morning hours during Texas summers
- Wear shoes with good grip
If you are not comfortable on the roof, hire a qualified RV technician. The cost of professional work is small compared with an injury.
Step-by-Step Overview
A typical resealing job follows these steps:
- Inspect. Identify cracked, peeling, or separated sealant around seams, edges, and penetrations.
- Clean. Remove dirt, debris, and loose sealant. Clean with a product approved for your roof material.
- Dry. Let the surface dry completely.
- Prep. Mask edges with tape for clean lines if desired.
- Apply. Apply sealant with a caulk gun in a smooth, continuous bead, covering the seam fully.
- Smooth. Tool non-sag sealant as recommended. Self-leveling sealant usually flows on its own.
- Cure. Allow full cure time according to product instructions. Avoid rain during curing if possible.
- Recheck. Look over the work after it cures for gaps or bubbles.
Areas to Pay Extra Attention To
Leaks often start in the same places:
- Around roof vents and fans
- Around air conditioner units
- Around skylights
- Along front and rear cap seams
- Along roof edges and end caps
- Around antennas, satellite mounts, and solar panel mounts
- Around the plumbing vent pipes
Check each carefully during inspections.
Signs You Already Have a Leak
Resealing prevents new leaks, but check for signs of existing damage:
- Water stains on ceilings or walls
- Soft spots on the roof or ceiling
- Musty smells
- Peeling wallpaper or delamination
- Visible mold
If you find these, have a professional assess the damage. Resealing over an active leak does not fix water damage already inside the structure.
Budgeting for Roof Care
Roof maintenance is an ongoing cost of full-time RV living. Include sealant, cleaning supplies, and occasional professional inspections in your budget. Our post on building a monthly budget for full-time RV living explains how to set aside money for maintenance so repairs do not become emergencies.
Roof Work at a Long-Term Park
Minor RV maintenance such as resealing is generally different from extensive mechanic work, but every park sets its own rules. At our park, extensive mechanic work is not permitted, and tarps and covers are not allowed on RVs. Keep work tidy, clean up debris promptly, and do not leave materials on or under your site. If you have questions, ask management before starting a project. Our park rules cover what is allowed.
Seasonal Timing
In Texas, spring and fall often offer the best weather for roof work: milder temperatures and fewer extreme storms. Our guide on preparing your RV for Texas summer includes roof checks as part of pre-summer preparation. Sealants have temperature ranges for application, so read labels carefully.
Keeping a Roof Log
A simple roof log makes maintenance far easier. After each inspection, write down the date, what you checked, and anything you noticed, such as a small crack near a vent or a seam that looks dry. Take a few photos from the same angles each time so you can compare over months. When you reseal an area, note the product you used and the date. This record helps you spot patterns, such as one vent that needs attention every season, and it gives an RV technician useful information if you ever need professional help. It can also be useful for insurance claims or when you eventually sell the RV, since buyers appreciate documented care.
Tools and Supplies to Keep on Hand
Keeping a small roof kit ready means you can act quickly when an inspection turns up a problem. Many owners keep a caulk gun, a tube of each compatible sealant, a plastic scraper, clean rags, an approved roof cleaner, painter’s tape, and disposable gloves. Store sealant according to its label, because heat can shorten its shelf life, and check expiration dates before each use.
Frequently Asked Questions
How often should I reseal my RV roof?
Reseal as needed based on regular inspections. Many owners inspect several times a year and after major storms.
Can I use silicone caulk on my RV roof?
Only if your manufacturer approves it. Many RV sealants do not bond to silicone, which can complicate future repairs.
Should I remove old sealant before resealing?
Many manufacturers recommend applying compatible new sealant over clean, sound old sealant. Remove only loose or failing material.
Can I reseal my roof at a long-term RV park?
Minor maintenance is often fine, but check your park’s rules first and keep the site clean.
A Covered Site Helps Protect Your Roof
Magnolia’s Finest offers eight covered sites and two uncovered sites, all on cement pads, in a small gated park in Magnolia, TX. Learn more about our amenities and whether a long-term site fits your plans.
Check Availability or call or text (281) 205-1959
Magnolia’s Finest RV Park · 32020 Old Hempstead Rd, Magnolia, TX 77355 · Contact us